One of the dances in the children’s Israeli dance festival—which is in a week and a half!—contains a segment that each school is supposed to choreograph for themselves. Given that I’m working with really young kids (grades 1-3, or 6- to 9-year-olds,) I needed to come up with something that’s simple to do, but looks great. I’ve been ruminating on this for weeks and assumed that I’d figure something out soon enough.
This morning, for no reason that I can think of, it suddenly came to me: rhythmic gymnastic ribbons! You know, like this:

Swirl them in a circle or a figure eight and the ribbons look incredible—it doesn’t even matter if the children are doing any dance steps at the same time. Big impact and small learning curve? Count me in!
Problem is, those ribbons are pricey unless you want an assortment of 12 colours (which I don’t.) So I figured there must be some not-so-hard way to make them myself. After puttering around in the Makery for a while my eyes landed on these really long, thick glue sticks we have; the rest of the plan quickly fell into place, and now I’m sharing my method with you.
DIY Rhythmic Gymnastics Ribbons
To make one, you will need:
– a long, thick glue stick, the kind you use in a glue gun
– a screw-in eye hook
– a swivelling lobster clasp (you might be able to harvest one from a lanyard, if you have any.)
– between 1 and 2 metres of wide ribbon (I used 2″ satin blanket binding)
Tools:
– Sharp scissors
– a tealight candle
– matches or a lighter

Steps:
- Screw the eye hook into the end of the glue stick (do your best to get it right in the center, and keep it straight on the way in.) Set it aside.

2. Cut your ribbon to the desired length (you might have to experiment to see what’s right for you.)
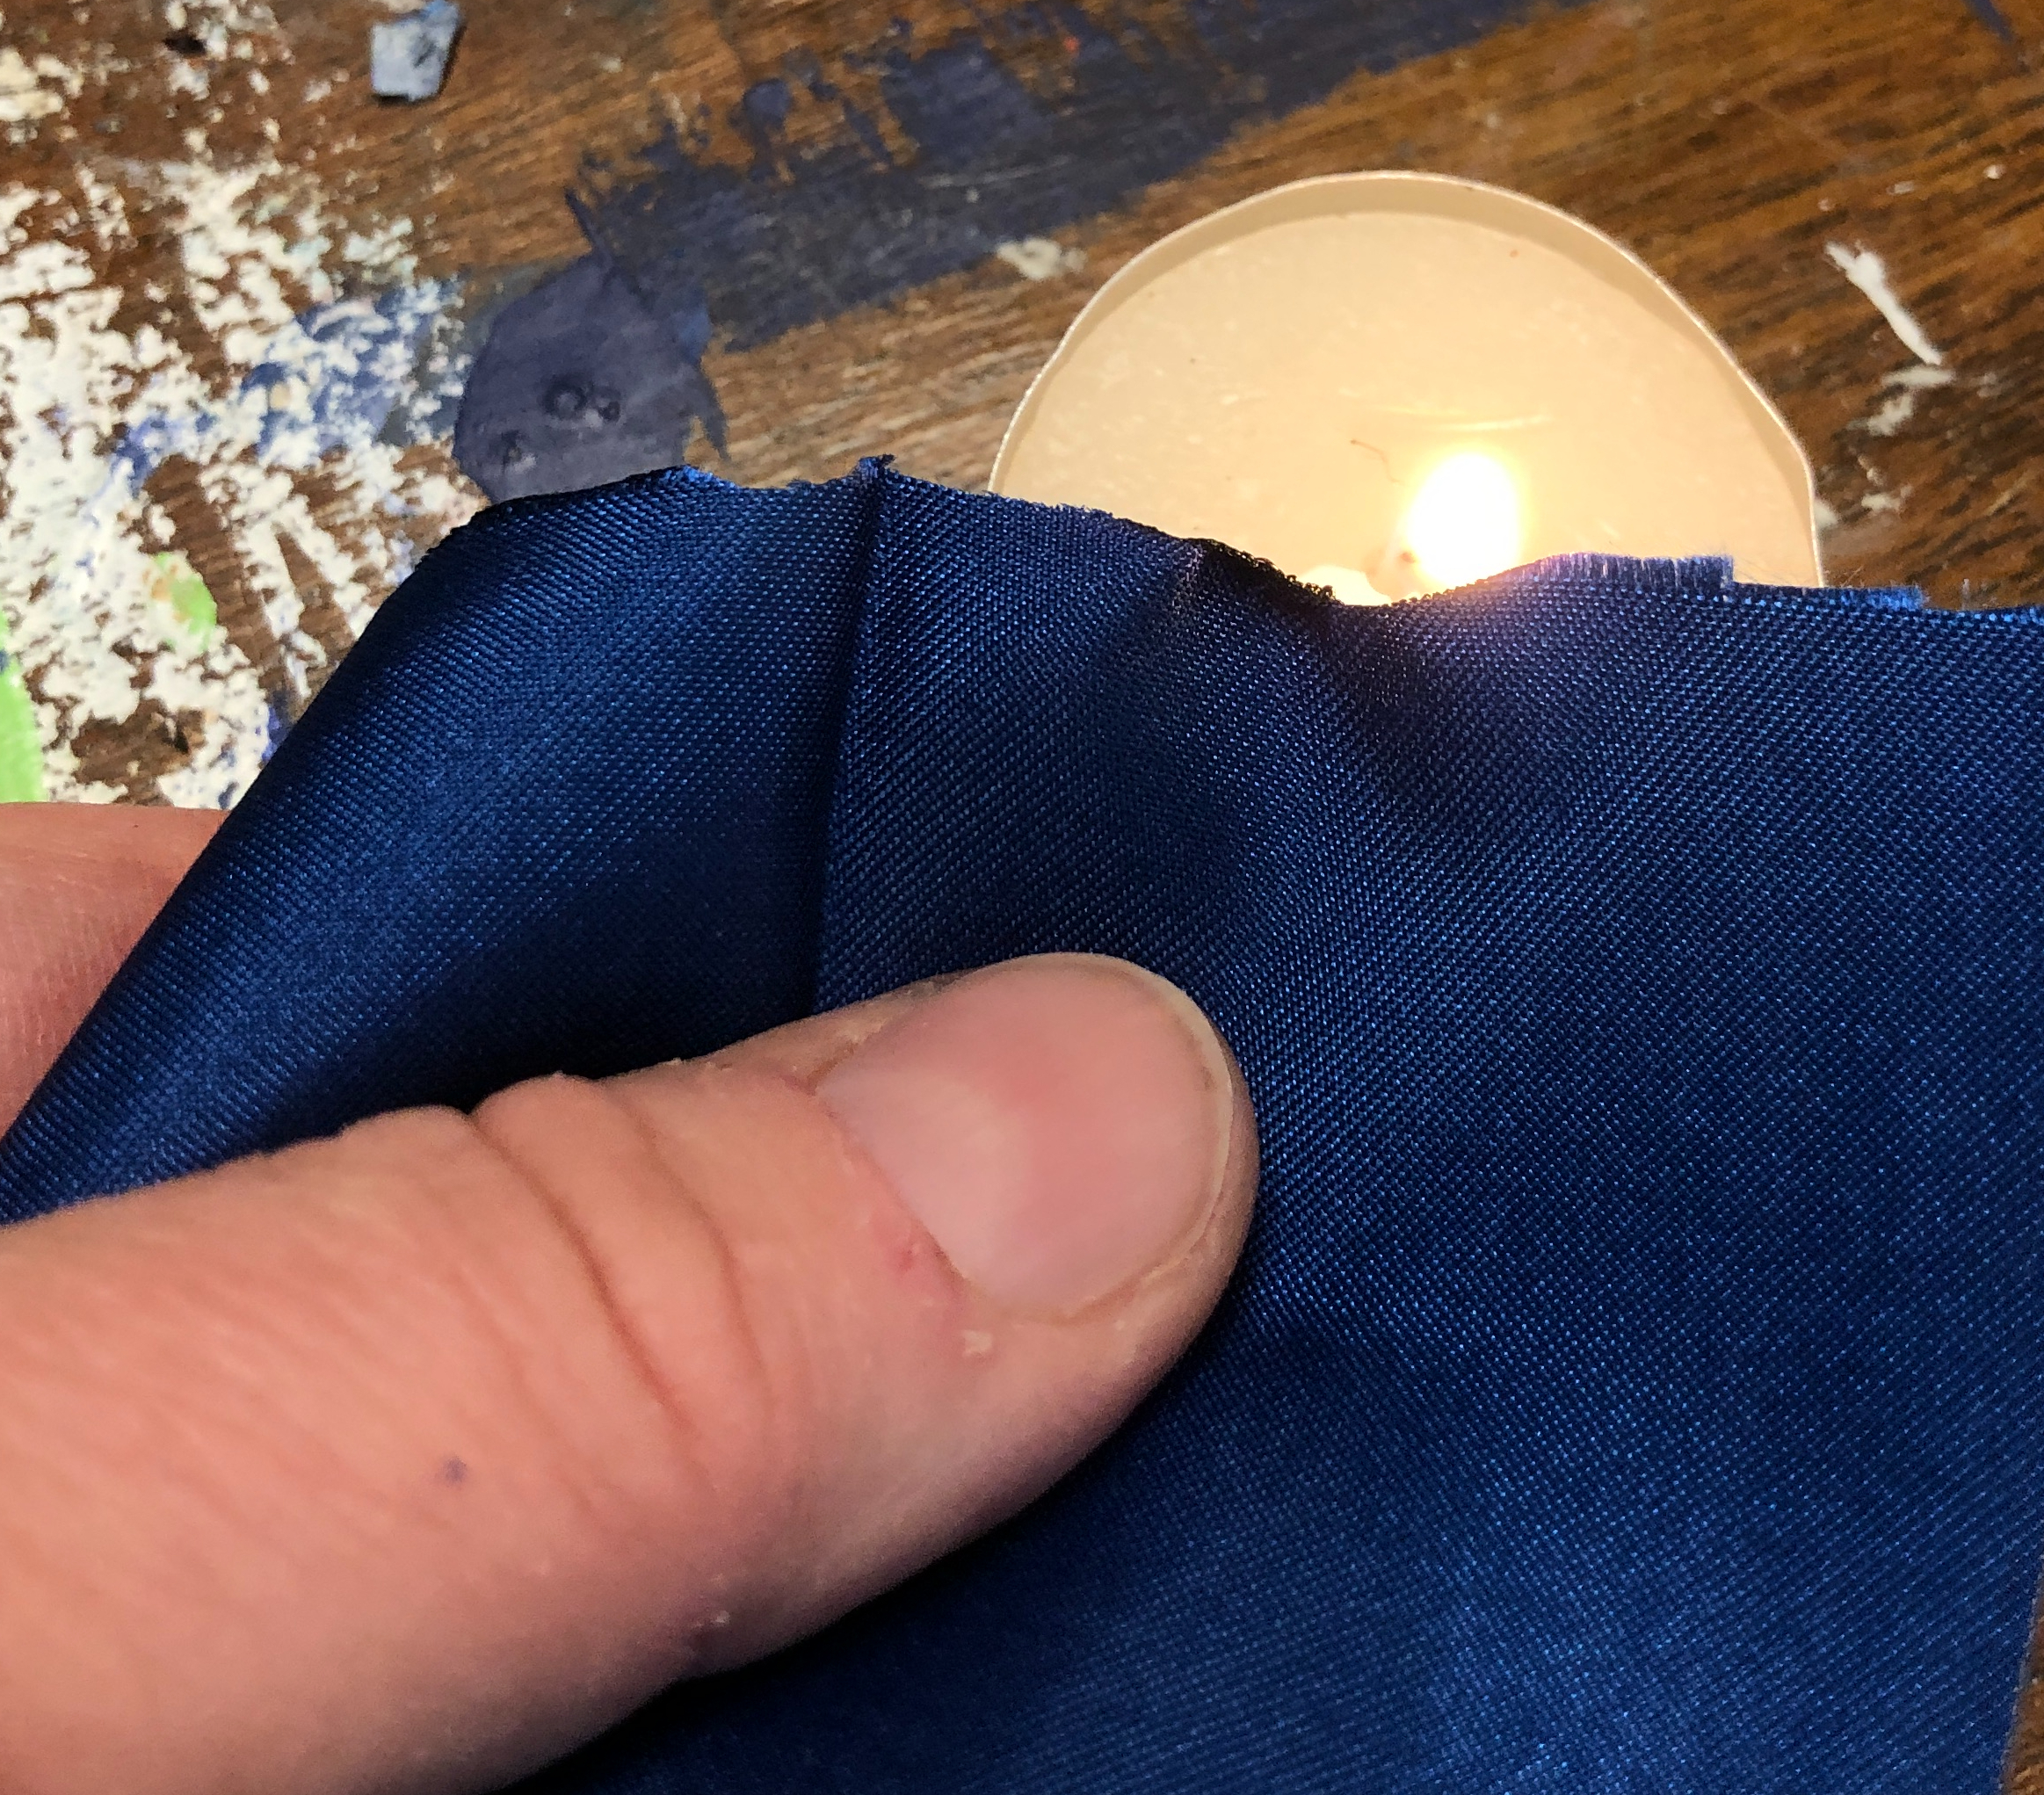
3. Light the tealight candle. Pass the cut ends of the ribbon very close to the flame for a few seconds, just until the edges curl a bit. (This keeps the ribbon from fraying.)
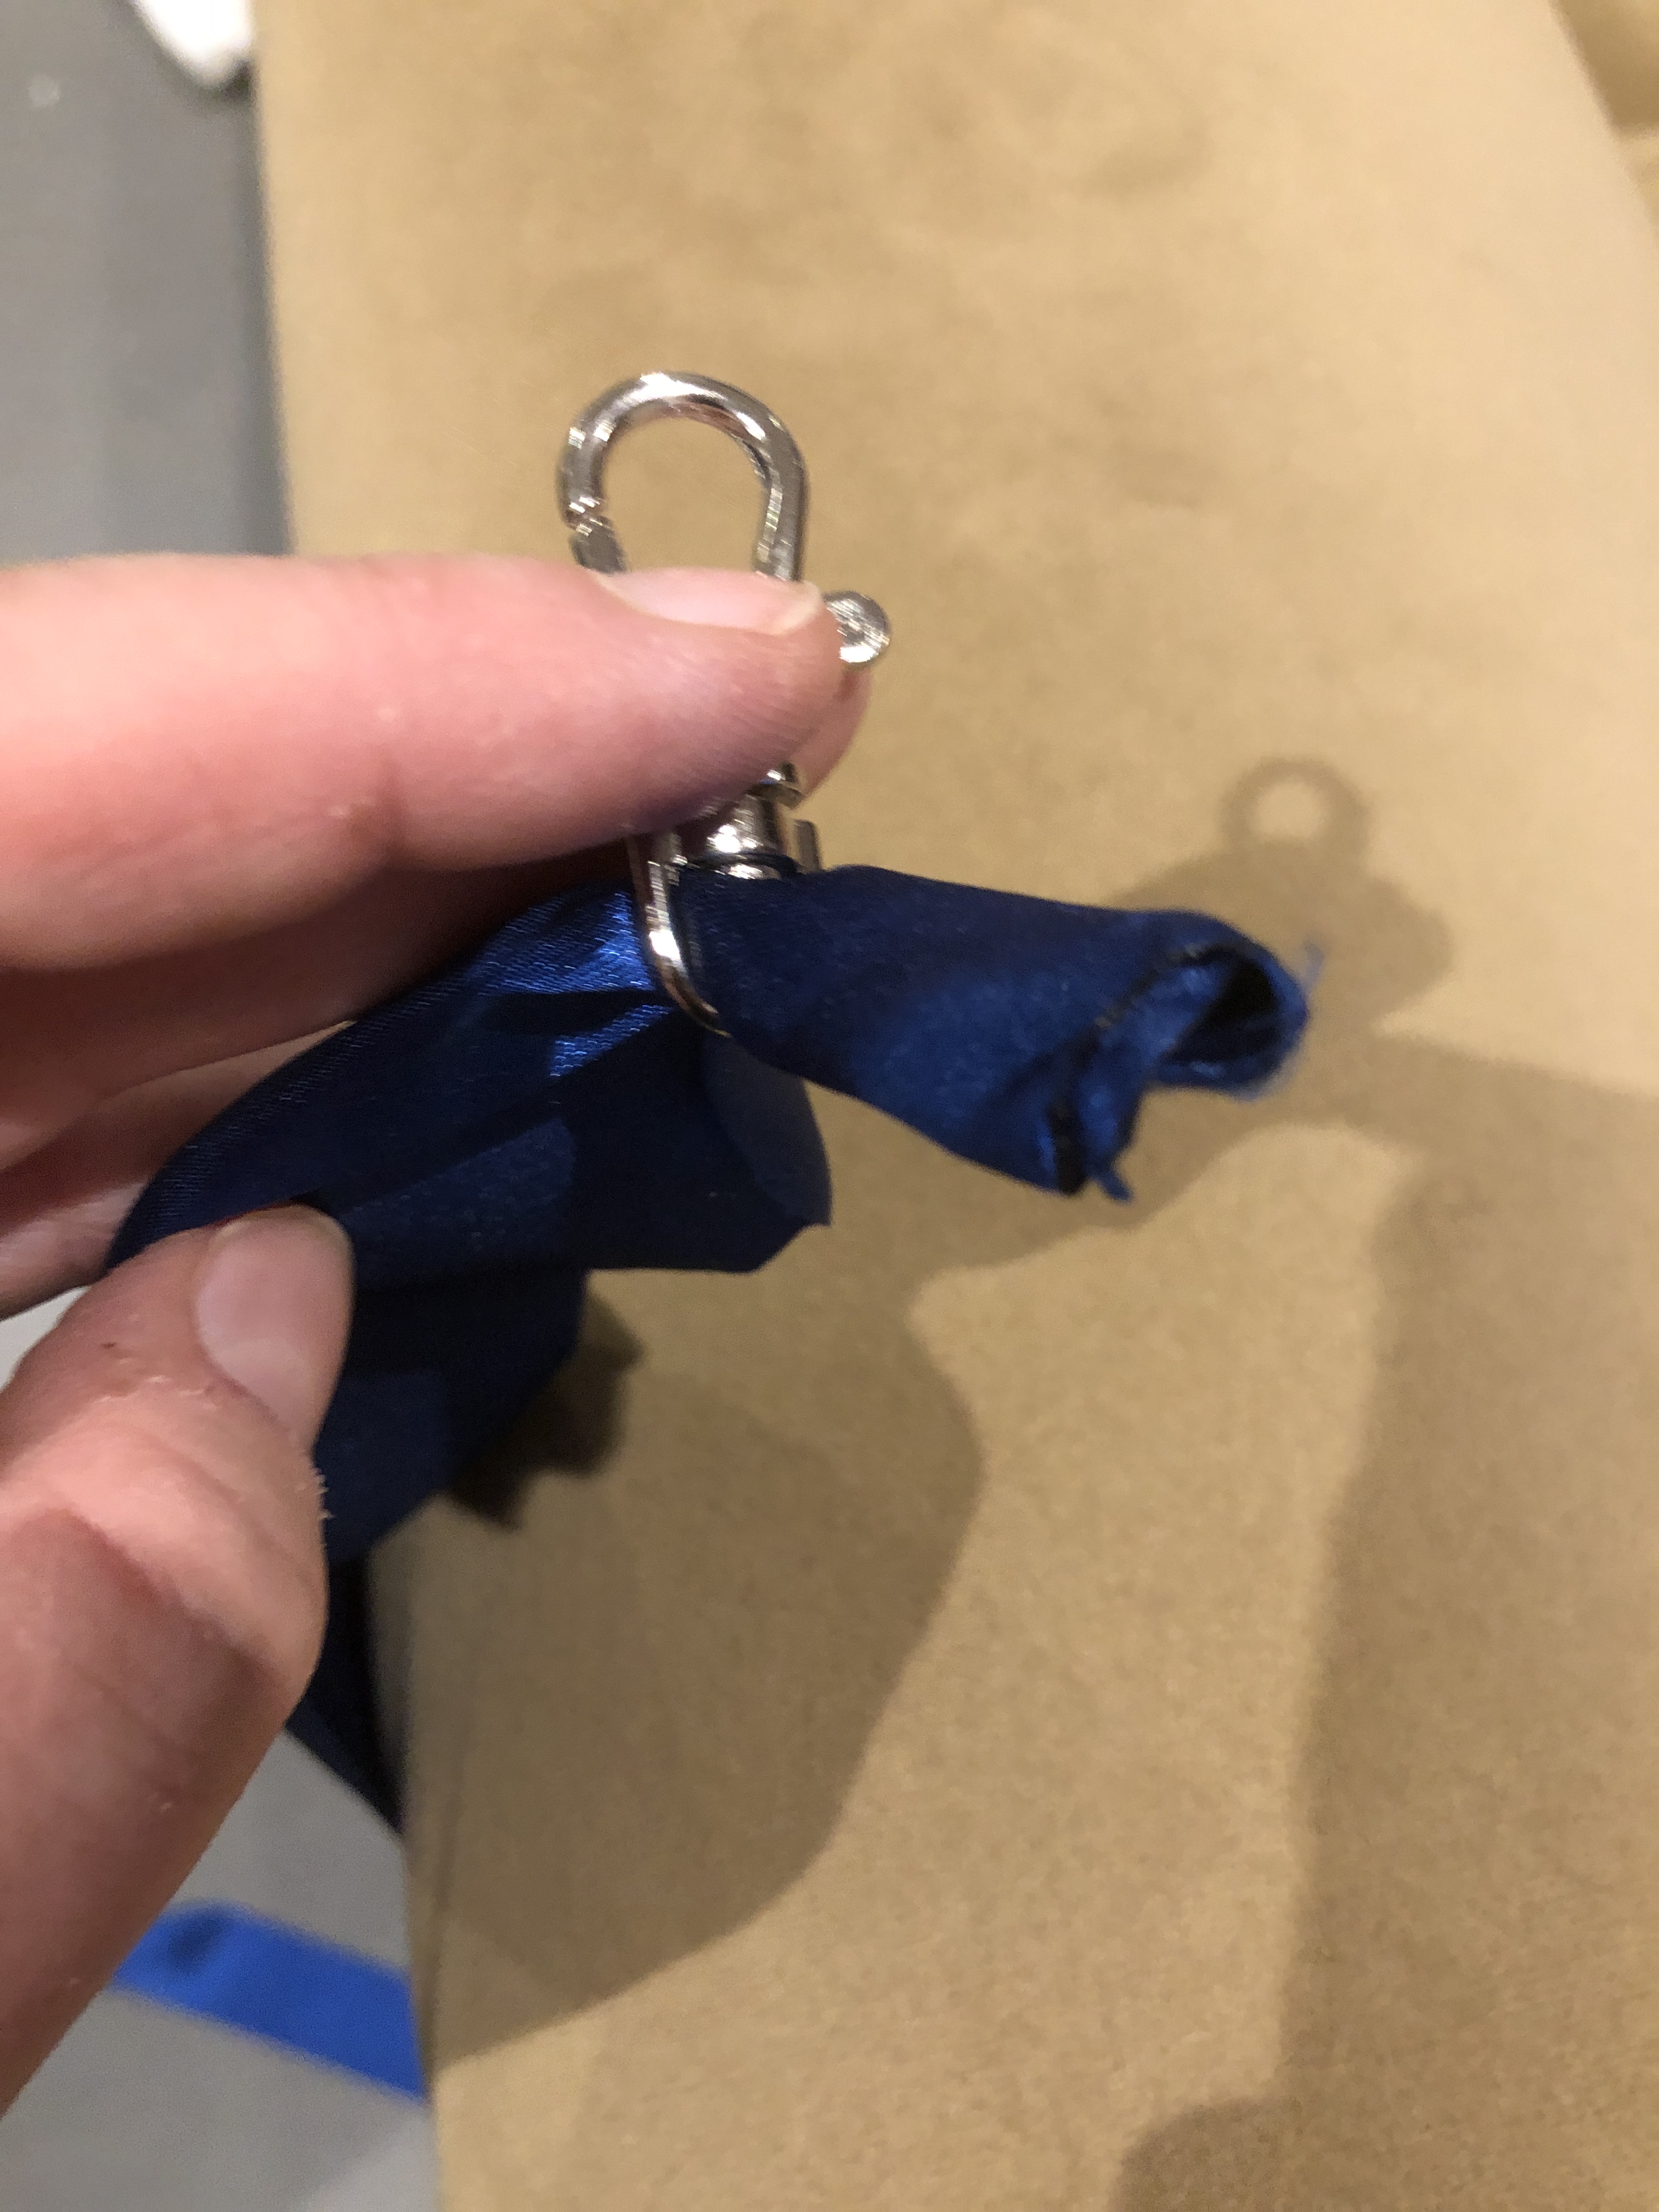
4. Fold one end of the ribbon in thirds (as if you were folding a letter for mailing) and pass the folded ribbon through the d-ring of the lobster clip.

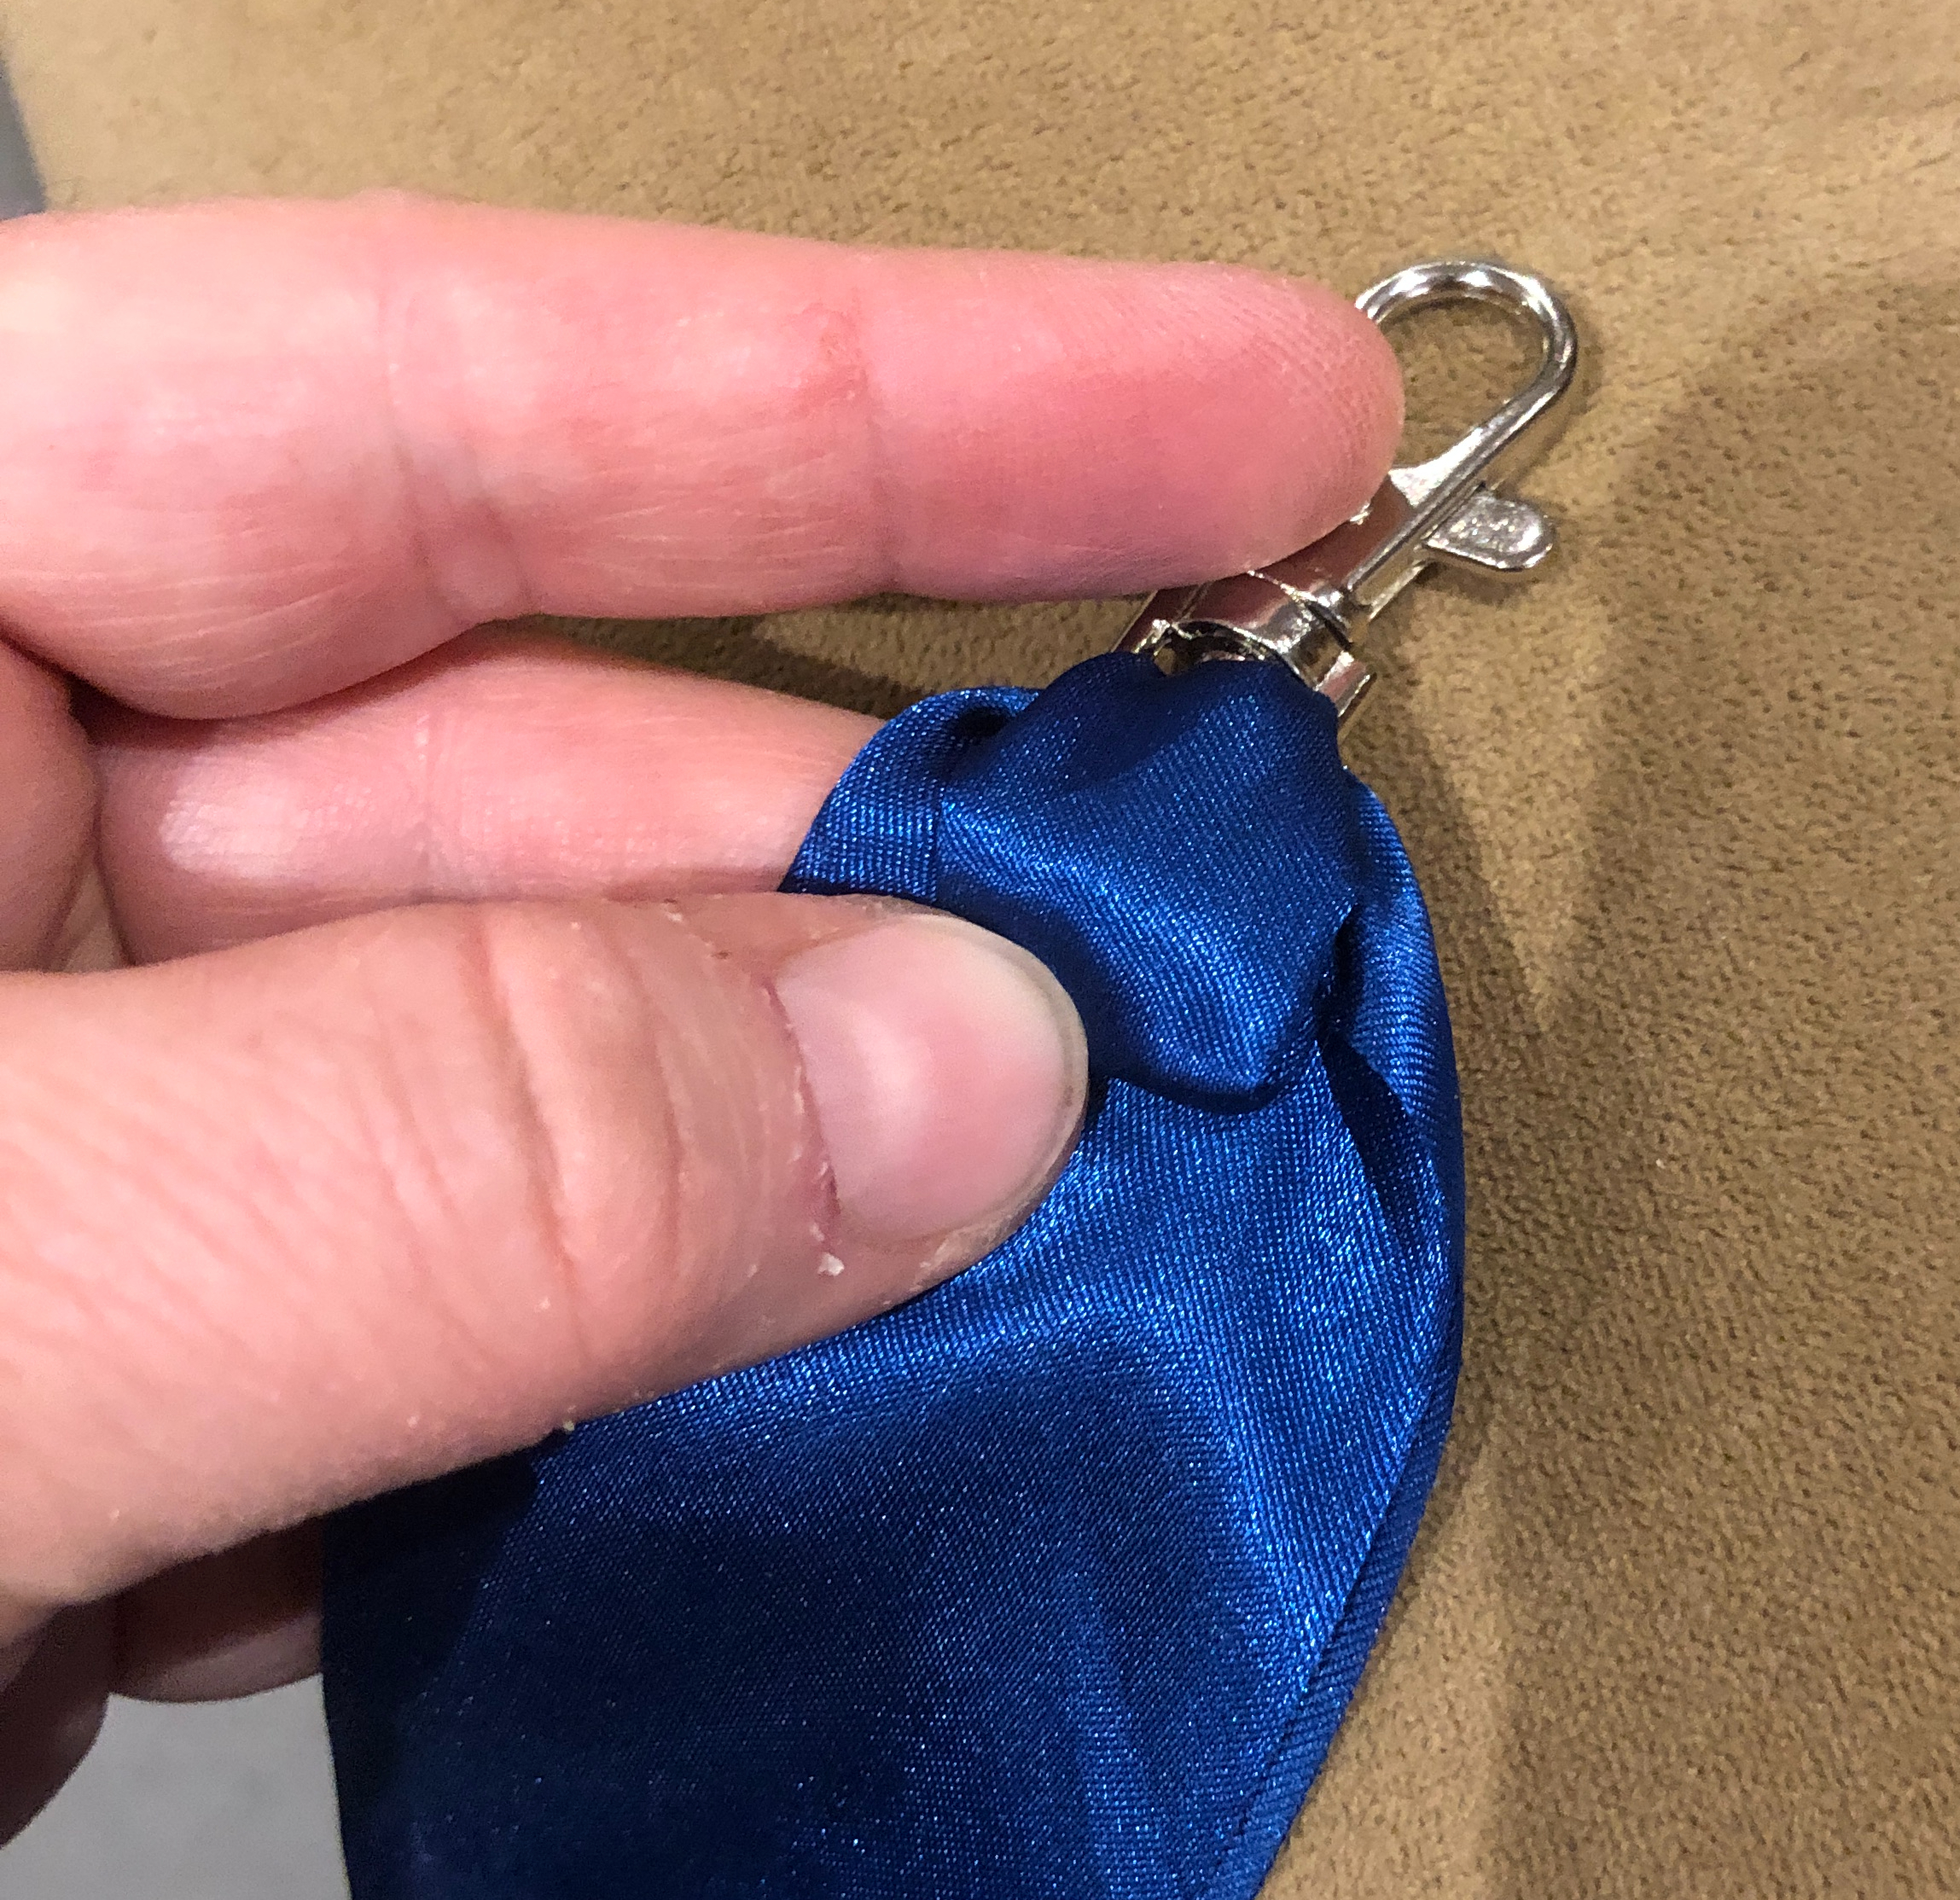
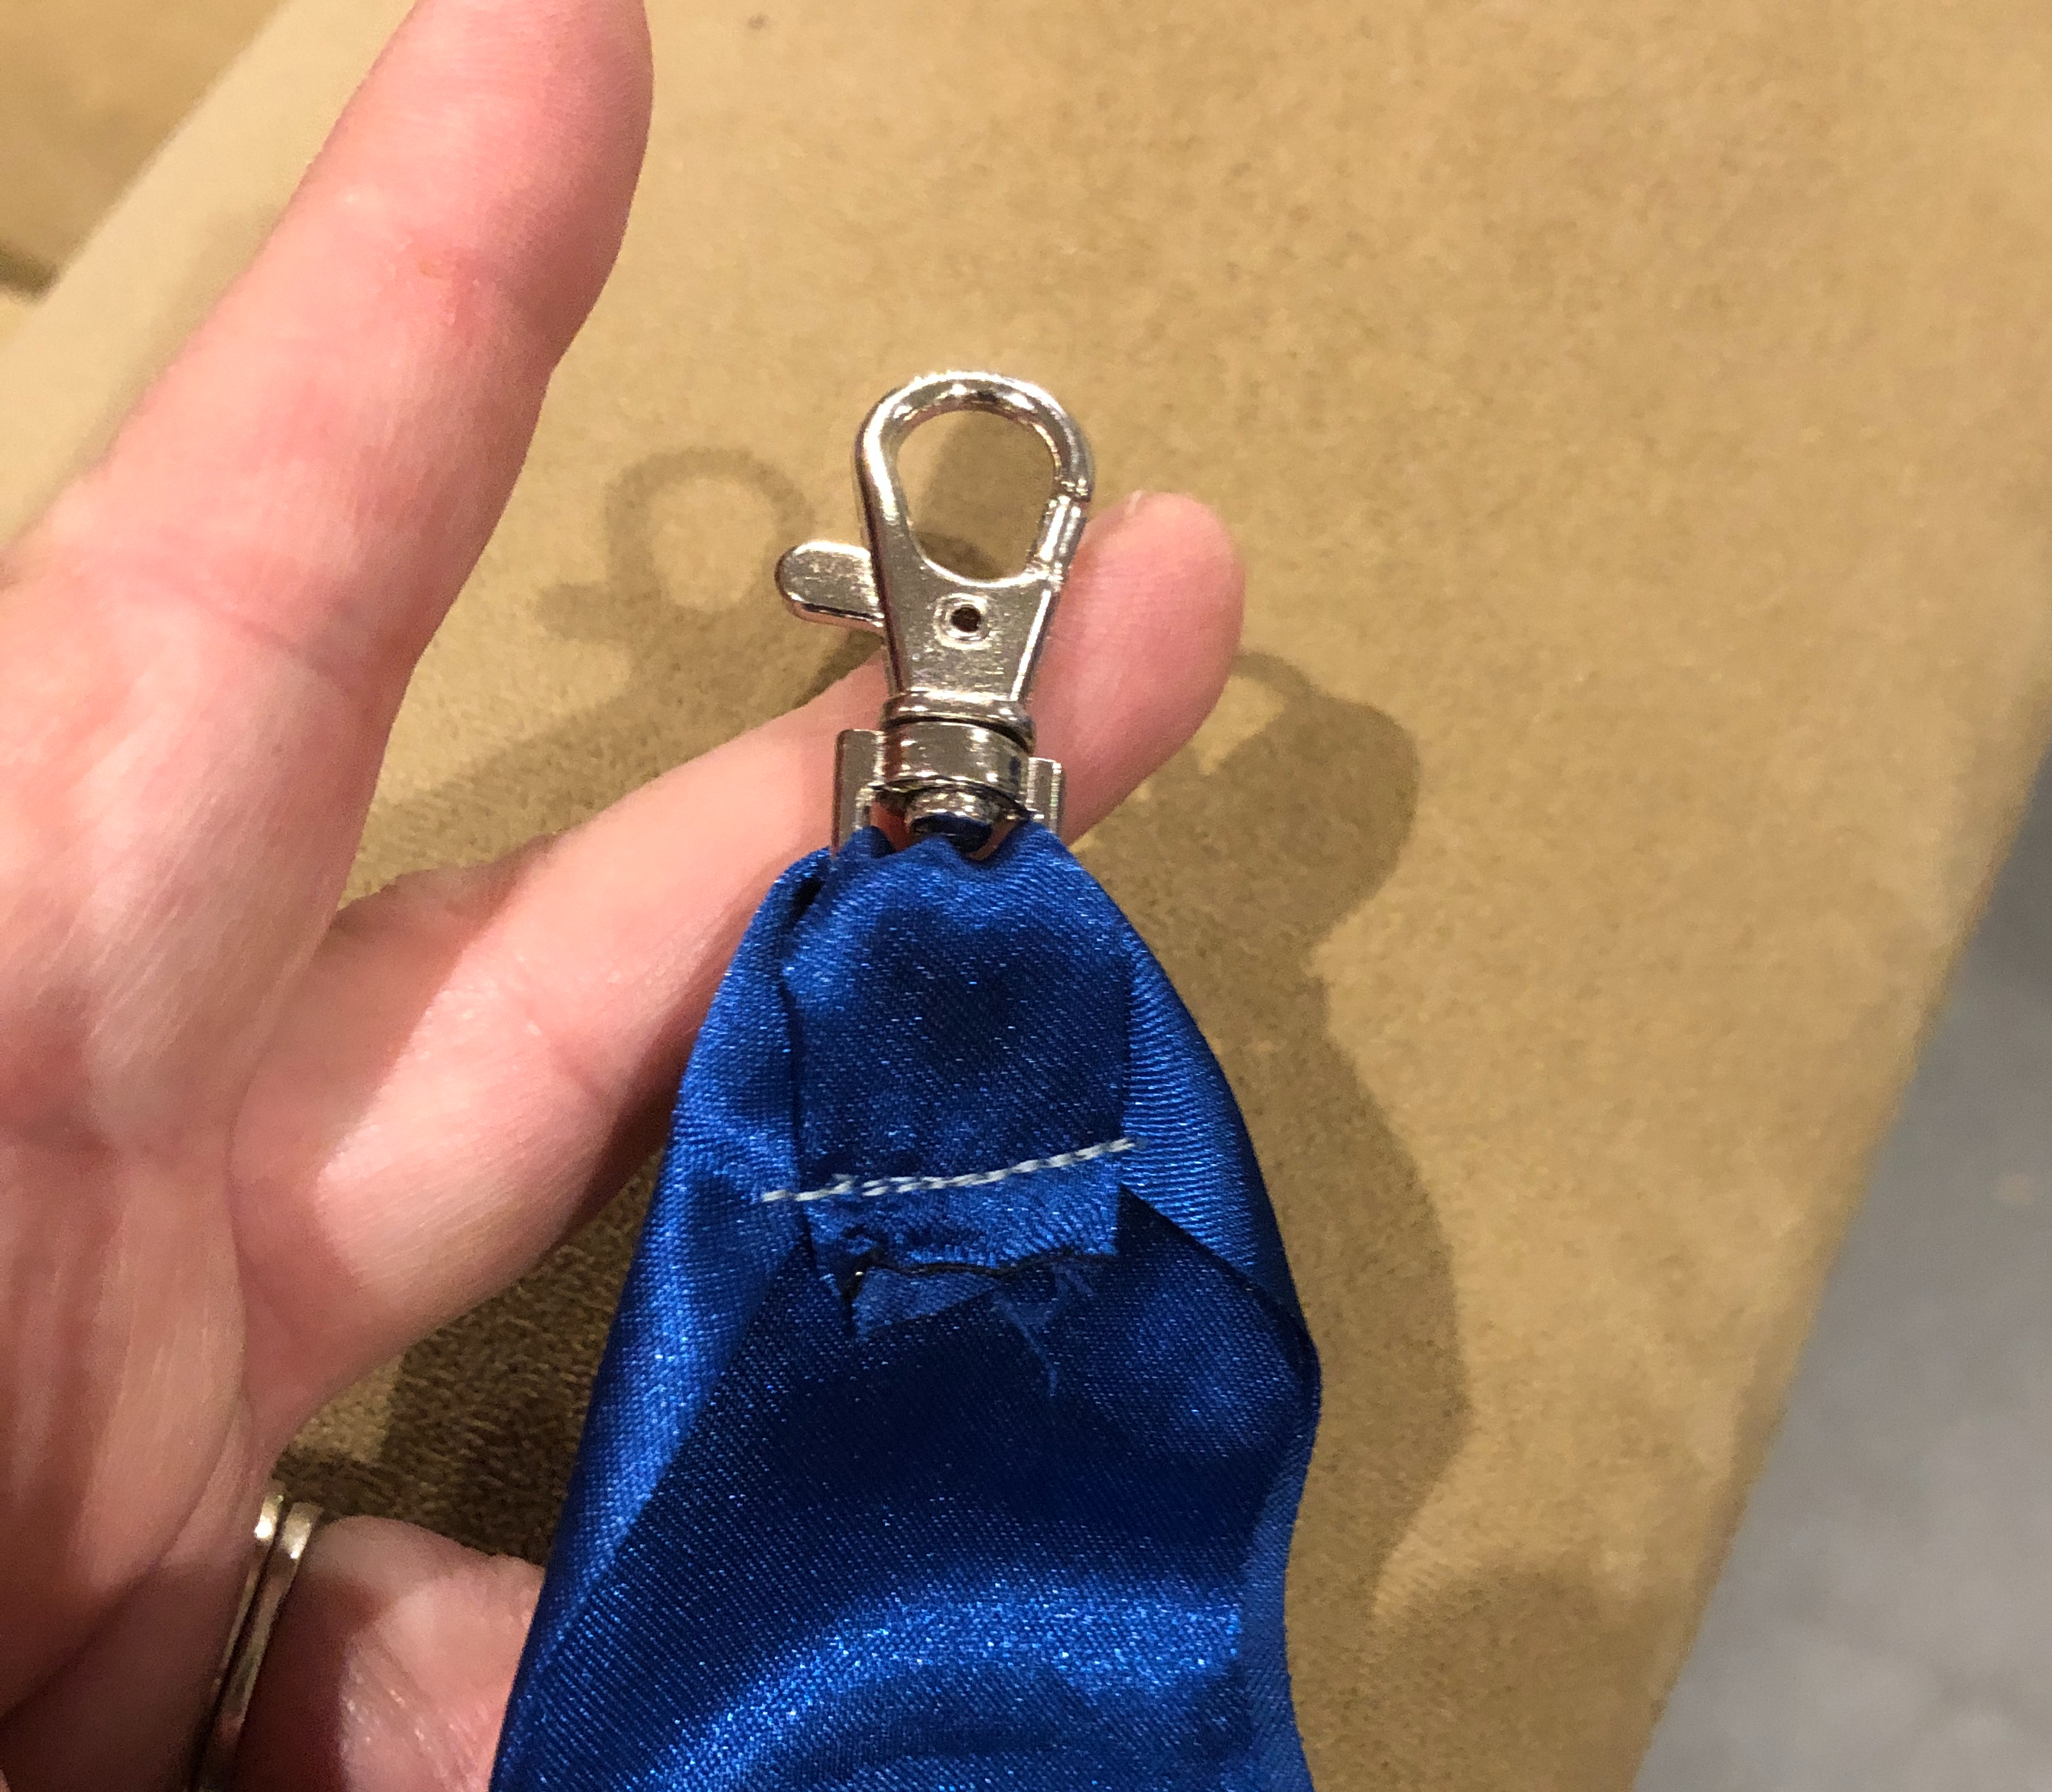
5. Fold the short end of the ribbon down and sew across it a few times (so that the ribbon can’t slip out of the clasp.)
6. Clip the ribbon to the stick. Twirl and enjoy!


Brilliant!!!!!! And I love that deep blue. Are they all the same color? If now can we see a picture of them being deployed with any faces blurred out? You are so smart and creative. As I started to read my first thought was long scarves but this is WAAAAAY Better! And they will be loved.